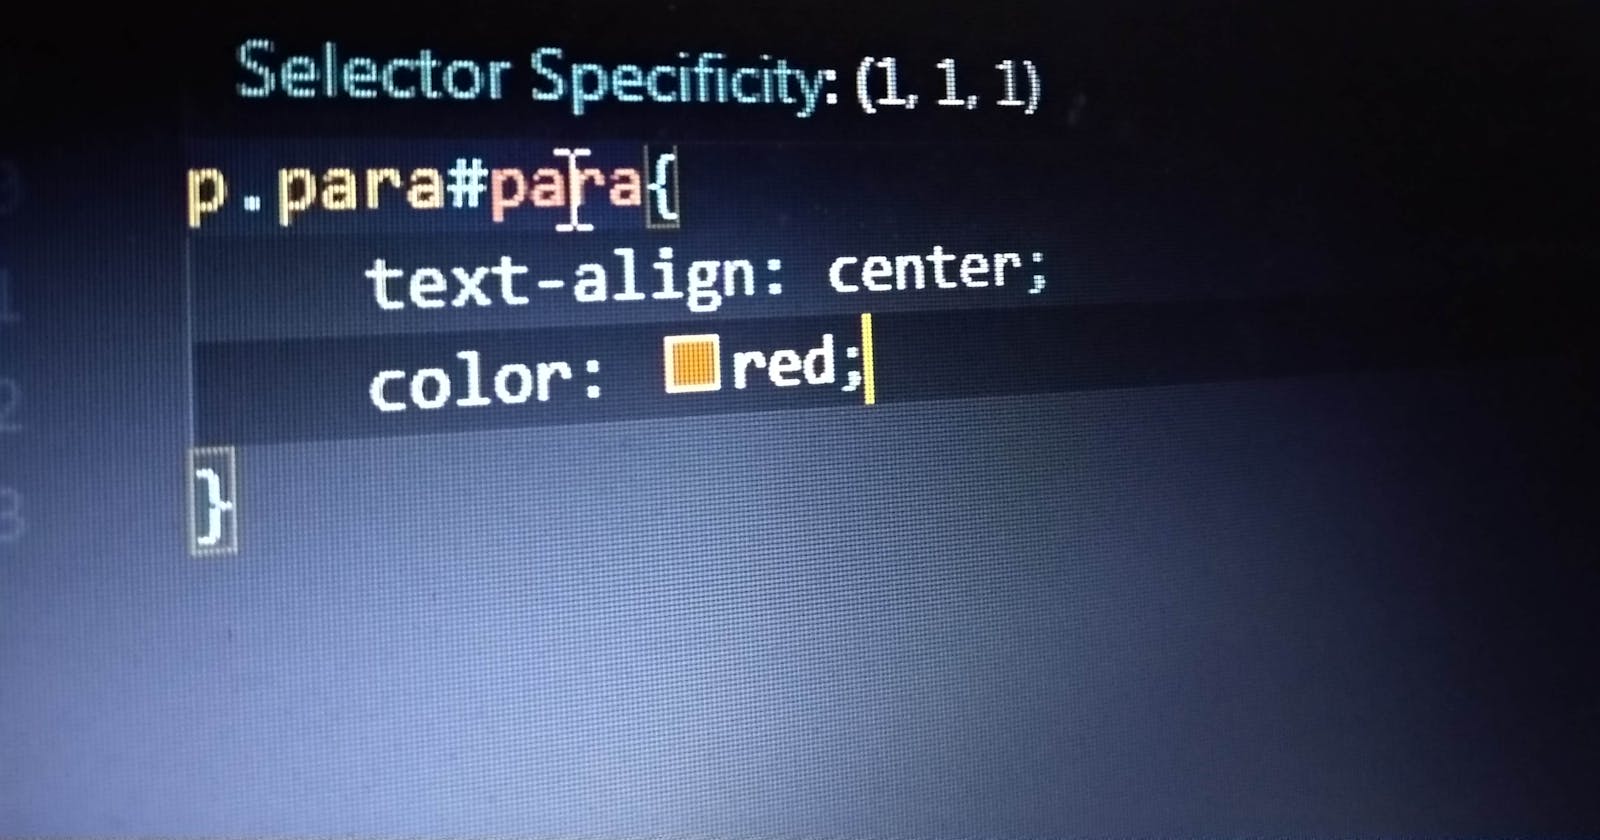
While styling certain elements in HTML, we notice that certain styles don't work as per our wishes. Sometimes, there occurs an error in our syntax. But sometimes not! Therefore,here,some knowledge about CSS selectors and specificity might prove helpful.
Keep reading.
CSS Selectors:
A selector is used to 'find' the HTML element we wish to style. There are many categories of selectors but we will focus our attention on the simplest of them.
Almost all beginners know the following list but let us revise.
Following are the simple selectors:
- Element selector- eg: div, h1, p, a
- Class selector- eg: .xyz , .anyname
- Id selector- eg: #xyz, #anyname
- Element selector:Here all
<p>elements on the page will have red text colour.p { color: red; }
2.Class selector:Here all elements with class .center will have red text colour.
.center {
  color: red;
}
3.Id selector:Here the element with Id #center will have text colour red.
#center {
  color: red;
}
Now that we have revised the basics, let us try to guess the output for the following code.
HTML: <p class="para" id="para">How are you?</p>

CSS:

.para{
    color: teal;
}
#para{
    color: yellowgreen;
}
p.para#para{
    color: yellow;
}
p.para{
color: tomato;
}
What will be the colour of the output text?
Well, the answer is; output text colour will be yellow. But how did the browser decide which rule is most relevant to the element? Here is where the concept of Specificity comes into picture.
CSS Specificity:
Specificity is the weight applied to a CSS declaration. It comes into play when there are two or more conflicting CSS rules applied to the same element (as we have seen in above problem).
What is this weight?
This weight is a number which is determined by the type of CSS selectors(the simplest of which we have seen above) used to find the particular element in HTML.
Can we calculate specificity? Of course. Let us see how.
Start at 0, add 1000 for inline style attribute, add 100 for each ID selector, add 10 for each class (or pseudo-class) attribute, add 1 for each element name (or pseudo-element).
NOTE: Inline style means styling which is applied directly to the element in your HTML file . Eg:
<h2 style="color:red;"> Hello world</h2>
Inline styles have highest specificity and hence override any other style in external sheet (unless we find any !important rule.)
Let us see our earlier problem again:
HTML: <p class="para" id="para">How are you?</p>

CSS:

.para{
    color: teal;
}
#para{
    color: yellowgreen;
}
p.para#para{
    color: yellow;
}
p.para{
color: tomato;
}
Here,
.paradeclaration has specificity = 10#paradeclaration has specificity = 100p.para#paradeclaration has specificity = 1+10+100= 111p.paradeclaration has specificity = 1+10= 11
Hence, the third rule which has the highest specificity is finally applied!
So, to summarize, ascending order of specificity is:
- Universal selector
*has zero specificity - Elements (& pseudo-elements) have specificity 1
- Class selector (& attributes & pseudo-classes) has specificity 10
- Id selector has specificity 100
- Inline styles have specificity 1000
- If two or more than two rules have equal specificity then the last rule in the CSS is applied.
So, the next time a certain element doesn't get styled as per our wish, changing the specificity can come in handy!
Keep Learning !
